Manage Peer Groups (Classic Peer)
Peer-to-Peer makes it easy to manage your standard and custom peer groups. You can delete, import, combine, and edit peer groups all in one location.
To manage your peer groups, follow these steps:
- Open the 'Select Primary and Comparisons' screen by selecting the 'Comparison Set' drop down at the top left of the screen.
- Select 'Change Set' and then click the ‘Manage Peers Groups’ button located on the right of the window.
- A window will appear that displays your peer groups. In the Manage window, you have the following options:
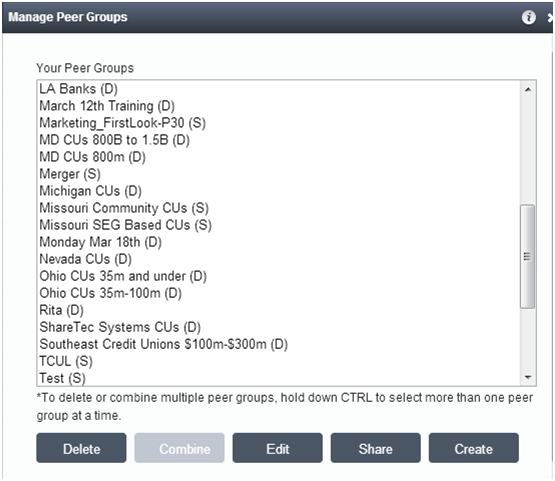
- To delete a peer group, highlight the group(s) and click Delete.
- To import peer groups, you need a .txt or excel file of the charter numbers (no header information) for each credit union you want to include in the peer group. Learn how to upload your file here.
- To merge peer groups, highlight the groups that you would like to join by holding down the control button and selecting the groups. Then click Combine. Note: You can only combine static peer groups, not dynamic.
- Name the new group in the Peer Group Name text box. Click Ok. Important: Peer-to-Peer will not delete the original peer groups that you combined.
- To edit peer groups, click on the individual peer group that you would like to edit and click Edit. This will bring you back to either the Custom Build or individual Select window, depending on how you originally built your peer group. You can now make any desired changes and re-save the peer group.